Requirements
- You have a Propel account.
Step 1: Create a Webhook Data Pool
- Console
- API
- Terraform
1
Navigate to Data Pools
In the Console, click on “Data Pools” in the left-hand menu. Click on “Create Data Pool” and select “Webhook”.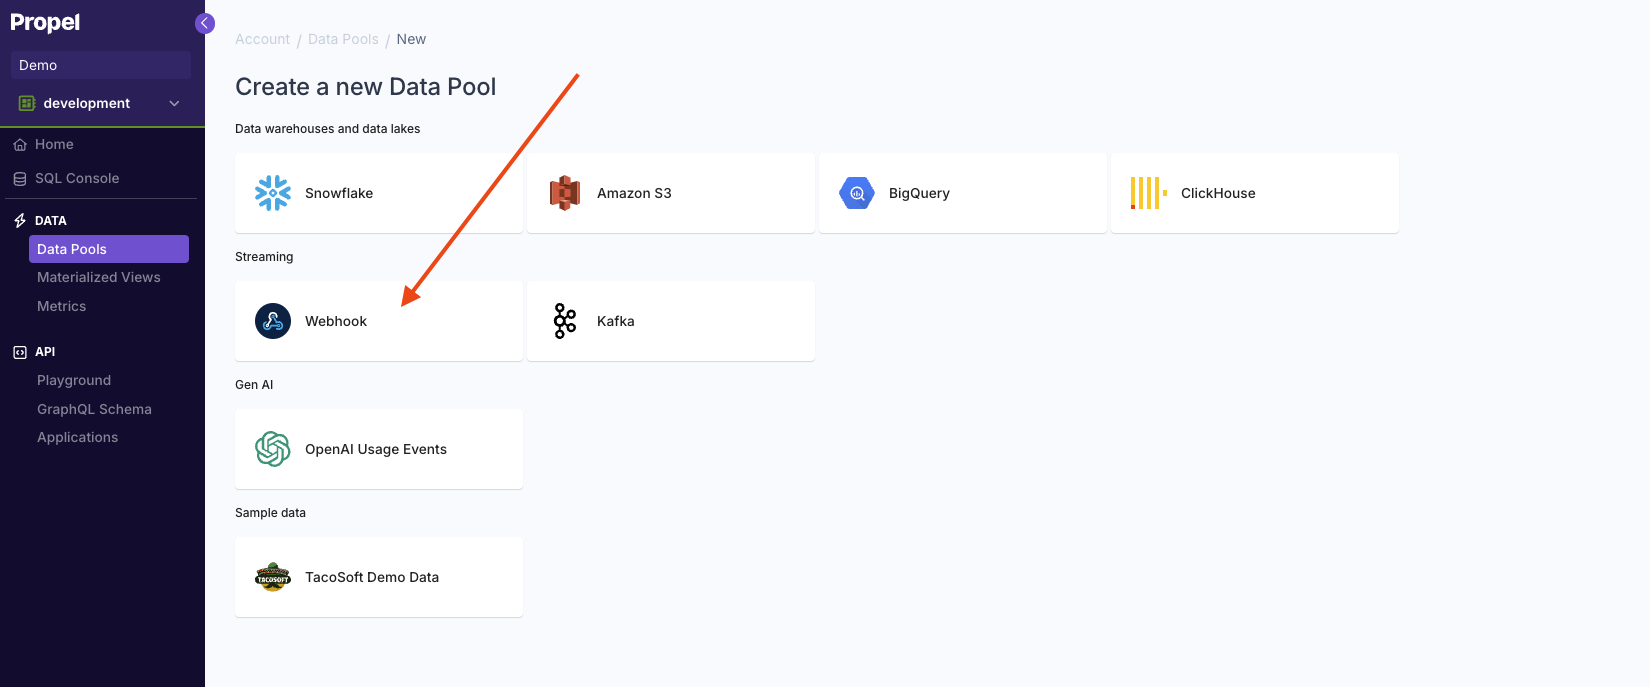
2
Define the schema
The default schema contains two columns:
In the Payload section on the right-hand side, you can enter or paste a sample JSON event. This feature allows you to: By providing a sample event, you can easily customize your Data Pool’s schema to match your data structure.For this guide, we’ll use the TacoSoft sample data:After adding the sample JSON, click on “Extract nested properties” to create columns representing the nested JSON keys.Set
| Column | Type | Description |
|---|---|---|
| _propel_received_at | TIMESTAMP | The timestamp when the event was collected in UTC. |
| _propel_payload | JSON | The JSON Payload of the event. |
- Visualize the structure of your incoming data
- Automatically extract top-level and nested JSON keys
- Create specific columns for these extracted keys
created_at as your default timestamp. Click “Next”.3
Configure Authentication
Configure authentication for your webhook URL: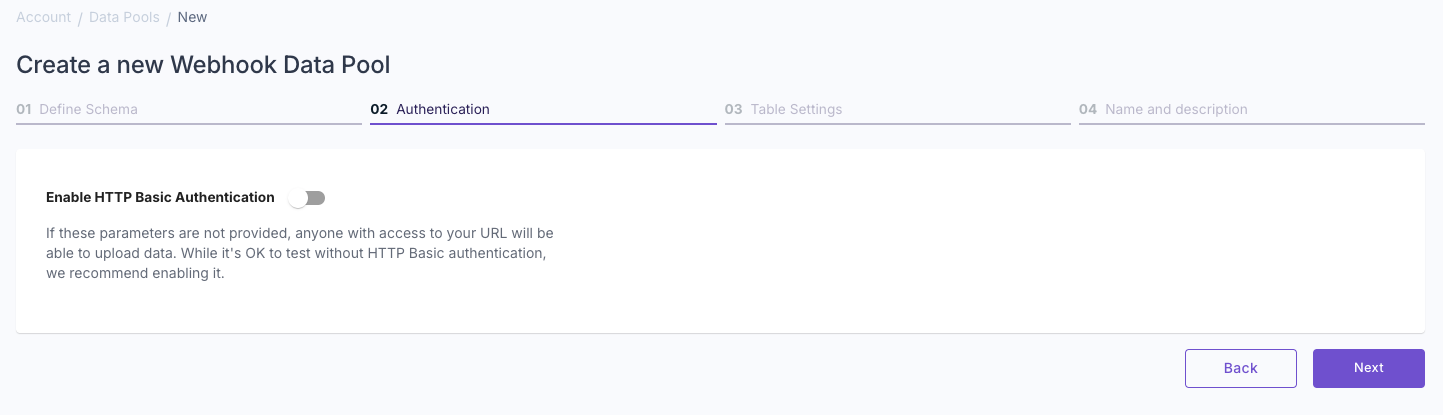
- To enable HTTP basic authentication, specify a username and password.
- For initial testing, you can leave these fields blank.
- You can always edit these settings later.
4
Configure data type and settings
Select whether your data is “Append-only” or “Mutable data”.To learn more, read out guide on Selecting table engine and sorting key.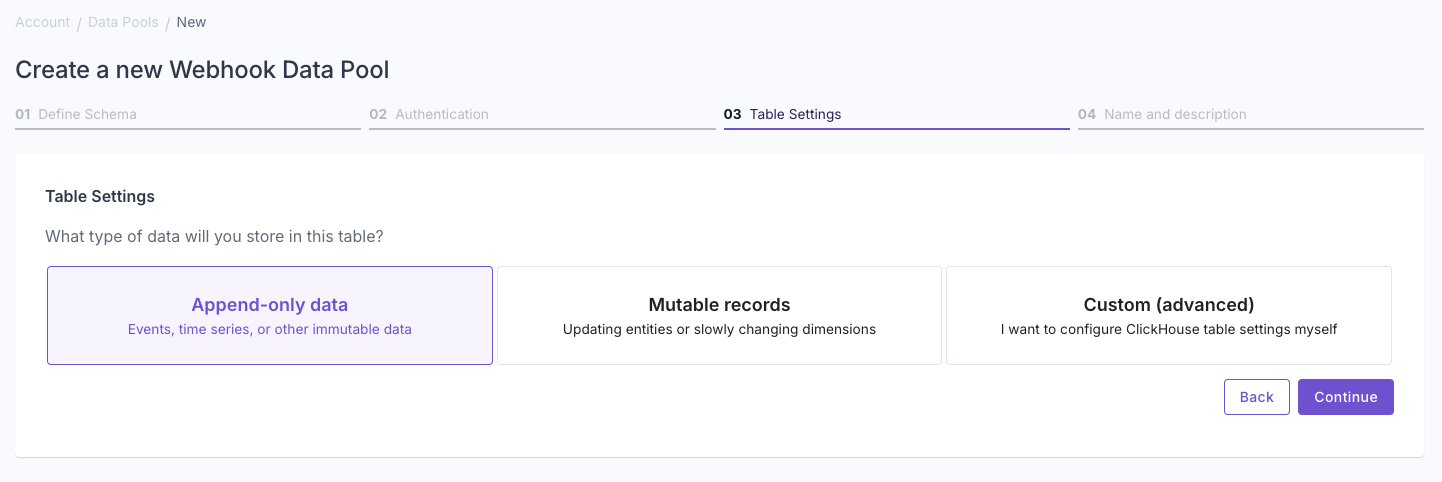 Answer the questions in the wizard to complete the setup.
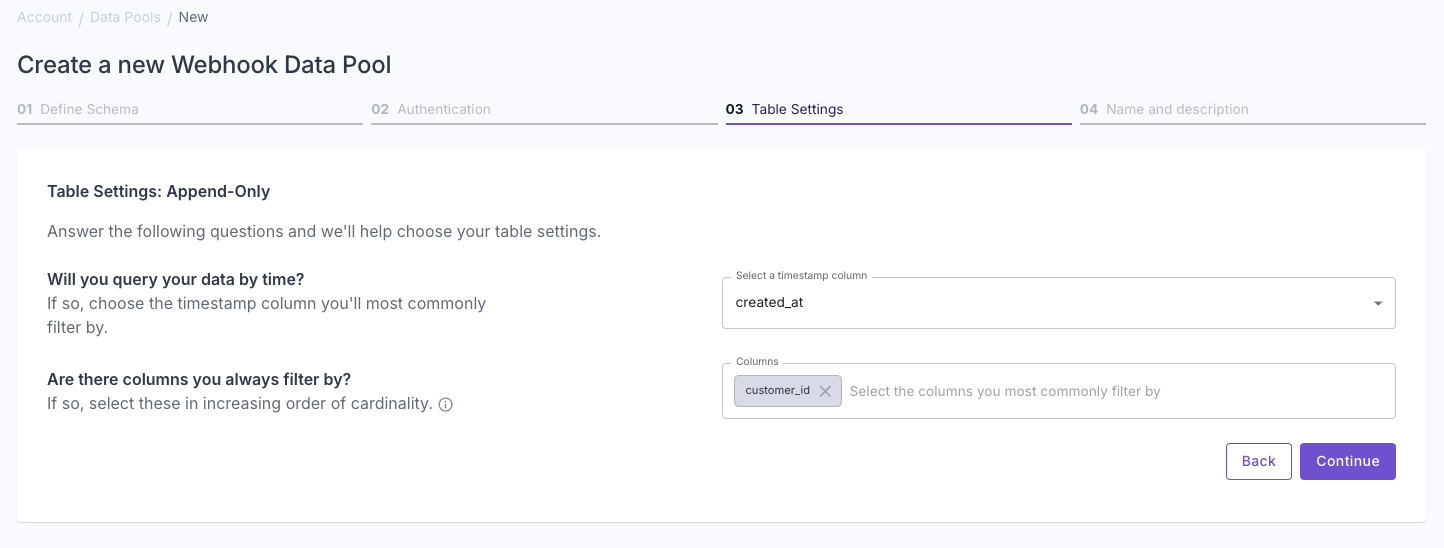 Confirm your table settings and click “Continue”.
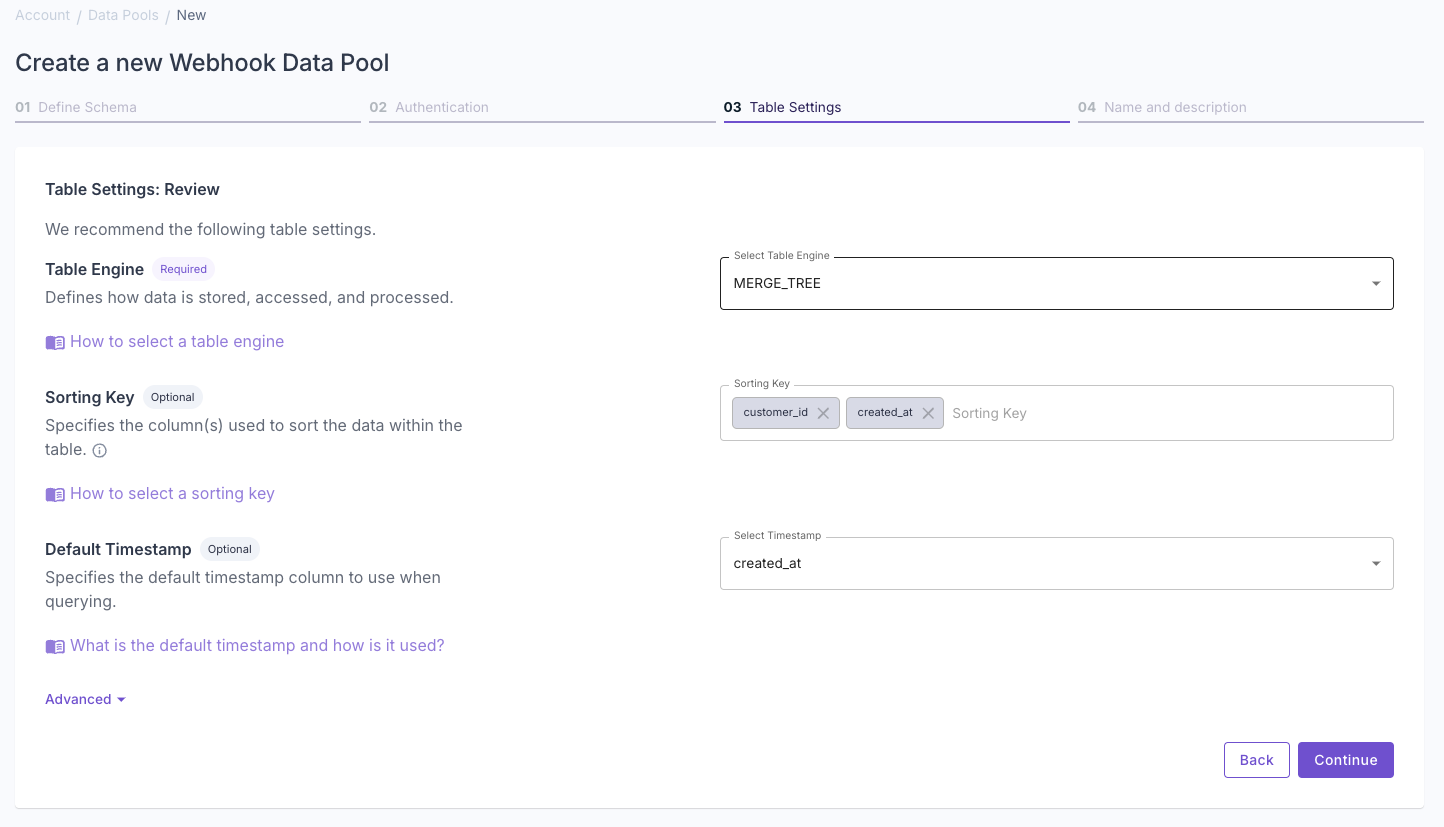
5
Set a name and description
Enter a name and description for your new Data Pool and click “Next”. After creating the Data Pool, you’ll be provided with a unique HTTP URL. This URL is where you’ll send your JSON data for ingestion.
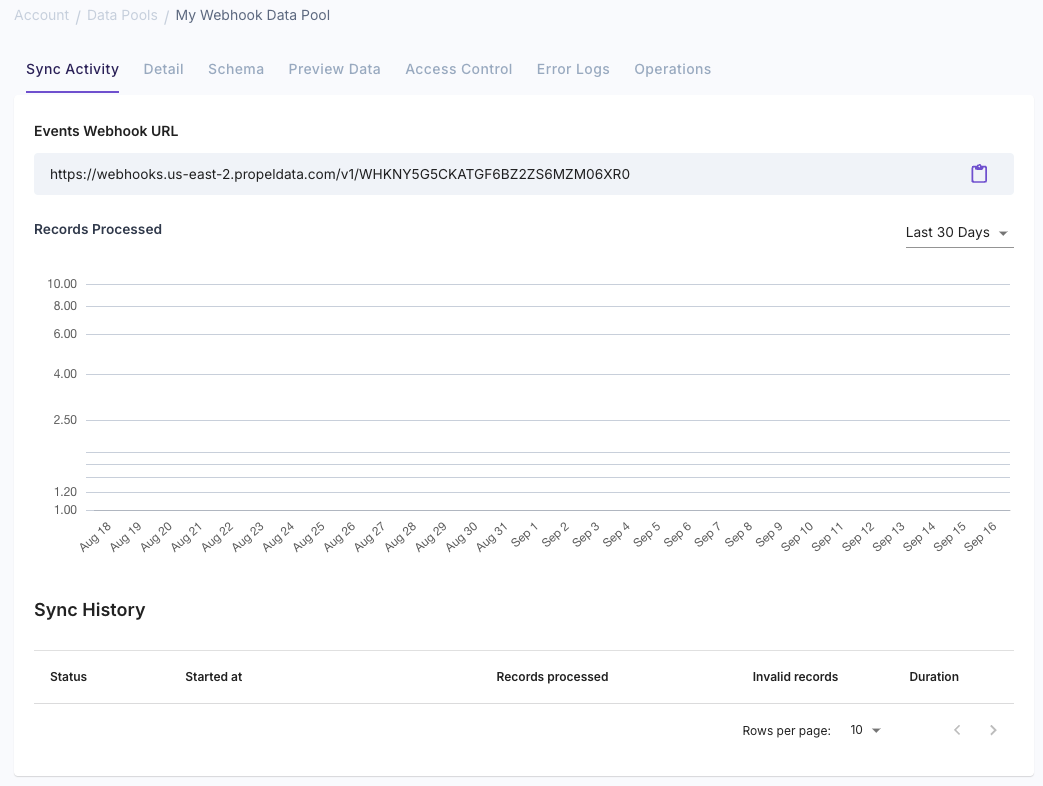
Step 2: Send events to the Webhook Data Pool
1
Prepare your data
Create a JSON array of events you want to send to the Webhook Data Pool.Here’s an example:
2
Send the data
Send a POST request to the Webhook Data Pool’s URL using curl or any HTTP client. Here’s an example using curl:
3
Check the response
You should expect a
200 OK with multiple “Event processed successfully” messages in the body of the response, one for each event.Step 3: View your events in the Data Pool
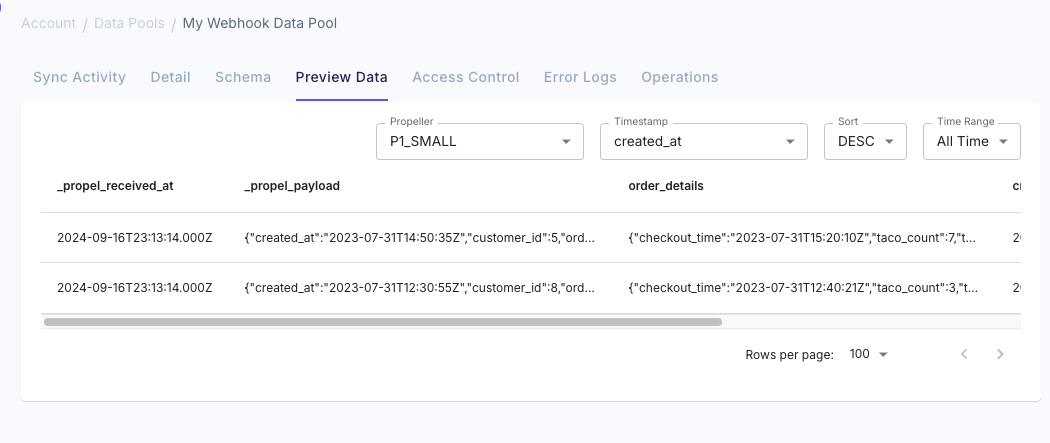
1
Navigate to your Data Pool
Click on “Data Pools” in the Console, and then select your Data Pool.
2
View the data
Head over to the “Preview Data” tab, and you should see the events data as POSTed, reflected in the schema we defined.